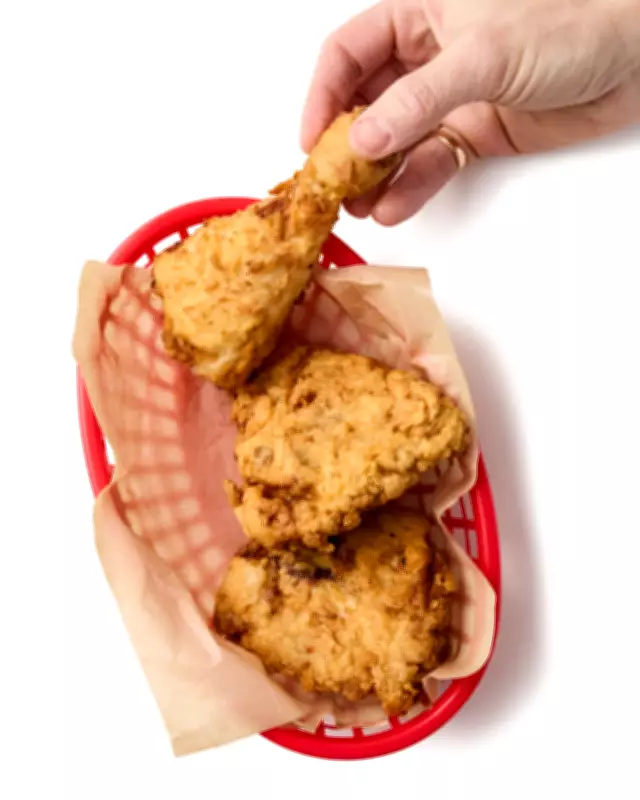
Felicity Cloake's Southern Fried Chicken Recipe: A Guilt-Free Delight
Let's be honest: fried chicken is one of those indulgent treats that's almost always satisfying, but making it yourself at home offers a significant advantage. You can ensure the quality and provenance of the meat, creating a healthier, guilt-free version of this beloved late-night snack. Felicity Cloake's expert recipe transforms this guilty pleasure into a culinary masterpiece in nine straightforward steps.
The Benefits of Homemade Fried Chicken
While fast-food chains often rely on pressure fryers to achieve that juicy texture, Cloake's method involves a simple buttermilk brine. This not only tenderizes the meat but also enhances its moisture retention, resulting in a crispier, more flavorful coating. By preparing it yourself, you avoid the unknown ingredients and processing methods of commercial options, making it a double win for both taste and health.
Essential Ingredients and Preparation
To serve two to three people, you'll need 300ml of buttermilk, 2¼ teaspoons of salt, six pieces of chicken (drumsticks and thighs work best), 110g of plain flour, 40g of cornflour (or alternatives like rice or potato flour), ½ teaspoon of freshly ground black pepper, ½ teaspoon of smoked paprika, ¼ teaspoon of MSG (optional), and neutral oil for frying. Preparation takes just five minutes, but marinating requires four hours or more, with a total cooking time of around 40 minutes.

Step-by-Step Cooking Guide
Step 1: Prepare the Buttermilk Brine – Buttermilk is ideal for its consistency, but if unavailable, mix natural yoghurt with a little water to make it pourable. Combine 275ml with two teaspoons of salt to improve moisture retention.
Step 2: Choose Your Chicken – Opt for drumsticks and bone-in thighs for best results; wings are also excellent. Remove the skin to allow better marinade penetration, though traditionalists may leave it on.
Step 3: Marinate the Chicken – Coat the chicken in the buttermilk mixture, cover, and refrigerate for four to 24 hours. Avoid exceeding this time to prevent a mushy texture.
Step 4: Create the Coating – Mix the flours in a shallow bowl, adding gluten-free options for a lighter crisp. Incorporate seasonings and the remaining salt, then rub in 25ml of buttermilk with your fingers.
Step 5: Coat the Chicken Pieces – Shake off excess buttermilk, dredge each piece in the flour mixture, and press firmly to ensure full coverage. Place on a rack over a tray.
Step 6: Chill Again – Refrigerate the coated chicken for at least 30 minutes to dry the batter, reducing the risk of it falling off during frying.
Step 7: Heat the Oil – Use a deep, heavy pan with a lid, filled with 2cm of neutral oil. Heat to 190°C on medium-high, using a thermometer for accuracy.
Step 8: Fry the Chicken – Carefully add half the chicken to the hot oil, cover, and fry for 10 minutes. Check the temperature halfway, adjusting as needed to maintain around 150°C.
Step 9: Final Touches – Turn the chicken, increase the heat slightly, and fry uncovered until golden and cooked through. Drain on a rack, rest for 10 minutes, and repeat with remaining pieces.
Why This Recipe Stands Out
Felicity Cloake's approach emphasizes control and quality, from selecting the meat to mastering the frying technique. By brining in buttermilk and using a precise coating method, this recipe delivers a crispy, juicy result that rivals any takeout option. It's a perfect example of how home cooking can elevate a classic dish, making it both delicious and responsible.