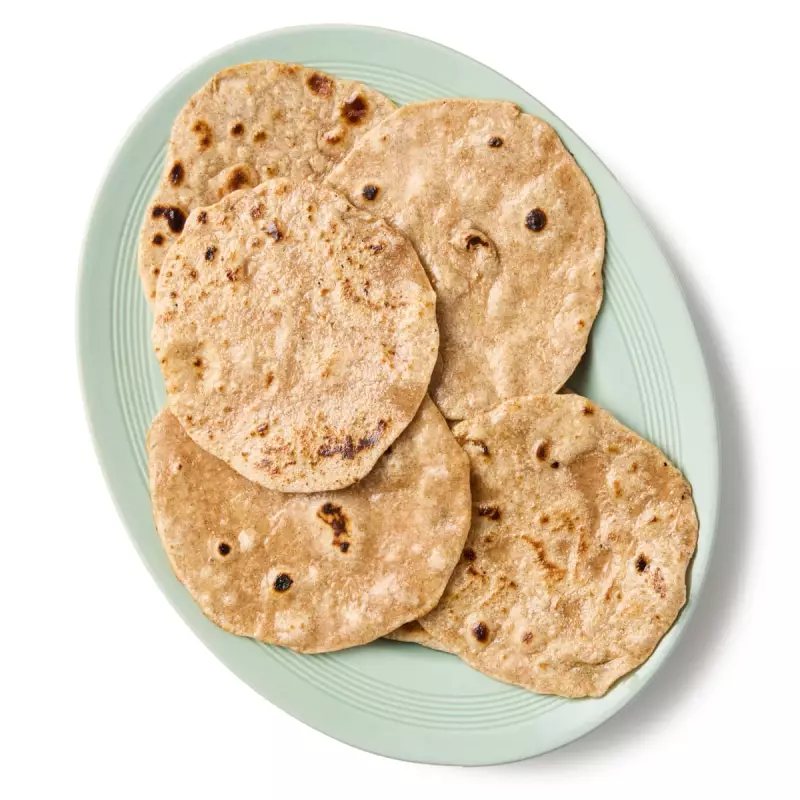
There's something magical about the simple roti. This humble flatbread, a staple across the Indian subcontinent, has the power to transform any meal from ordinary to extraordinary. Yet many home cooks shy away from making their own, convinced it requires some secret culinary artistry.
Well, we're here to tell you that perfect rotis are well within your reach. With a few key techniques and a bit of practice, you'll be creating soft, flaky bread that puts any shop-bought version to shame.
The Foundation: Choosing Your Flour
While you can use standard wholemeal flour, the secret to authentic rotis lies in atta – a fine, golden wholewheat flour specifically milled for flatbreads. Its higher protein content creates the perfect structure for those characteristic air pockets that make rotis so delightfully light.

Mastering the Dough
The journey to perfect rotis begins with the dough. Unlike many bread doughs that require vigorous kneading, roti dough benefits from a gentler approach. Combine your flour with water and a pinch of salt, then bring it together with your hands until it forms a soft, pliable ball.
Pro tip: The resting period is non-negotiable. Allowing your dough to rest for at least 30 minutes (or even overnight in the fridge) gives the gluten time to relax, making the dough much easier to roll out and resulting in softer rotis.
The Art of Rolling
This is where many beginners stumble, but fear not. Dust your surface lightly with flour and use even pressure to roll your dough balls into thin, round circles. Don't worry if they're not perfectly round – what matters is even thickness throughout.
Remember: If the dough springs back or resists rolling, it needs more resting time. Be patient with it, and it will reward you.
Cooking to Perfection
A heavy-based frying pan or traditional tawa is your best friend here. Get it properly hot before you begin – a drop of water should sizzle and evaporate instantly. Cook each roti for about 30 seconds until bubbles form, then flip.
The signature puff comes from the second side. Press gently around the edges with a clean cloth or flat spatula – this encourages steam to build up inside, creating that beautiful ballooning effect that makes rotis so light and flaky.
Serving Your Creation
Freshly cooked rotis are best enjoyed immediately, brushed with a little ghee or butter if you like. They're the perfect vehicle for scooping up curries, dals, or vegetables, but they're equally delicious simply wrapped around a spiced potato filling or served with a dollop of pickle.
With practice, you'll find the rhythm of rolling one roti while another cooks becomes almost meditative. This isn't just about making bread – it's about connecting with a culinary tradition that spans generations.